Difference between revisions of "Retrofit Instructions"
From re:3D
| Line 27: | Line 27: | ||
[[Image:Power_and_Z_limit_switch_manual.jpg|thumb|right|top|500px|link=http://wiki.re3d.org/images/4/47/Re3D_Power_and_Z_limit_switch_Full_10-14-2015.pdf]] | [[Image:Power_and_Z_limit_switch_manual.jpg|thumb|right|top|500px|link=http://wiki.re3d.org/images/4/47/Re3D_Power_and_Z_limit_switch_Full_10-14-2015.pdf]] | ||
| − | + | == Gigabot Wiring Diagrams == | |
[http://wiki.re3d.org/images/7/7f/GigaBot_sys_drw_V1.0.pdf Viki 1.0 and Azteeg 1.0] | [http://wiki.re3d.org/images/7/7f/GigaBot_sys_drw_V1.0.pdf Viki 1.0 and Azteeg 1.0] | ||
Revision as of 16:04, 12 November 2015
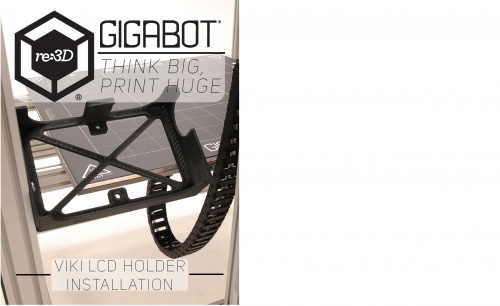
Customers who have purchased the full Gigabot 2 to Gigabot 3 retrofit, please follow these manuals below to complete your installation:
- Side Panel Installation
- Filament Detection Installation
- Power and Z Limit Switch Relocation
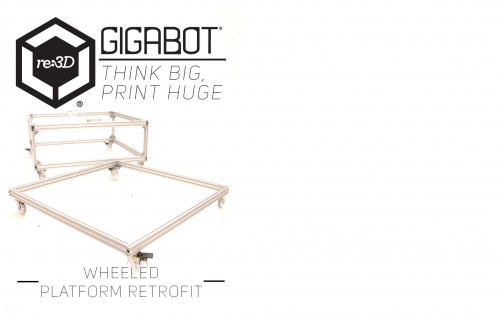
- Gigabot Trolley and Cable Carrier Upgrade


Gigabot Wiring Diagrams
GB2 Wheeled Platform
Wheeled Platform