Difference between revisions of "Retrofit Instructions"
From re:3D
(→Gigabot Wiring Diagrams) |
|||
| Line 45: | Line 45: | ||
[http://wiki.re3d.org/images/8/89/Filament_Detection_Wiring_Diagram.pdf Filament Detection] | [http://wiki.re3d.org/images/8/89/Filament_Detection_Wiring_Diagram.pdf Filament Detection] | ||
| − | |||
| − | See the visual below to determine your Azteeg version: | + | |
| + | |||
| + | |||
| + | |||
| + | '''See the visual below to determine your Azteeg version:''' | ||
[[Image:Azteeg_Differences_-515403-.jpg|1139px|left]] | [[Image:Azteeg_Differences_-515403-.jpg|1139px|left]] | ||
Revision as of 17:19, 19 November 2015
Customers who have purchased the full Gigabot 2 to Gigabot 3 retrofit, please follow these manuals below to complete your installation:
- Side Panel Installation
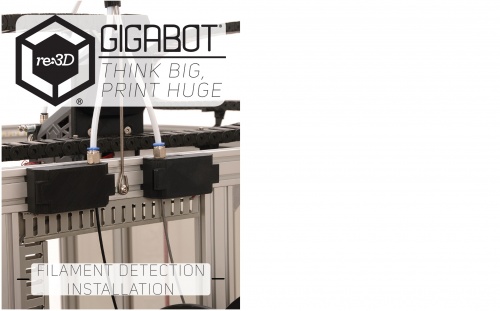
- Filament Detection Installation
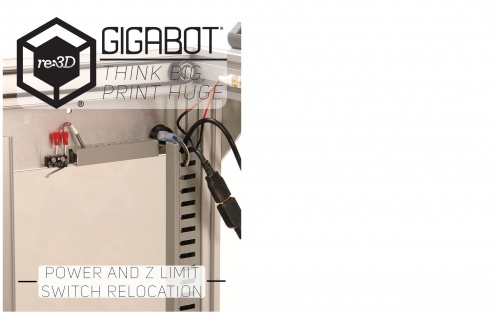
- Power and Z Limit Switch Relocation
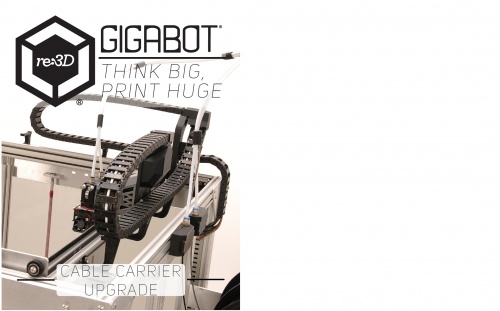
- Gigabot Trolley and Cable Carrier Upgrade
Wiring diagrams are linked to at the bottom of this page

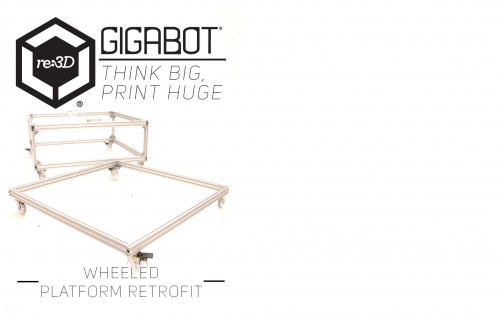


GB2 and GB3 Wheeled Platforms Wheeled Platform
Gigabot Wiring Diagrams
See the visual below to determine your Azteeg version:
