Difference between revisions of "Applying BuildTak print surface"
(→When installing the BuildTak sheet) |
(→Notes on printing with BuildTak sheet) |
||
| Line 14: | Line 14: | ||
Additional instruction can be found here: [[http://www.buildtak.com/ BuildTak website]] | Additional instruction can be found here: [[http://www.buildtak.com/ BuildTak website]] | ||
| + | |||
| + | and here: [[http://www.buildtak.com/wp-content/uploads/2014/08/bt_instructions.pdf BuildTak instructions .pdf]] | ||
Revision as of 16:18, 28 August 2014
Product Detail and Information
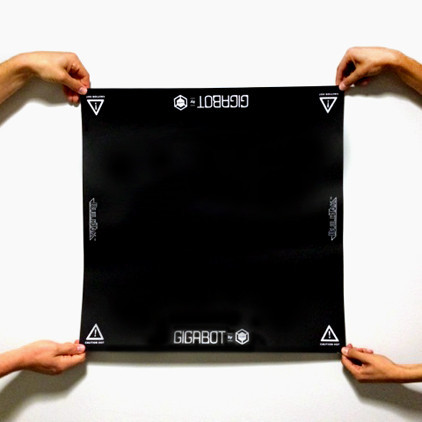
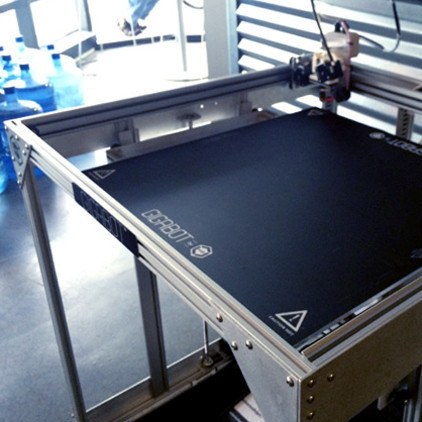
BuildTak is a thin, durable plastic sheet that adheres to the print bed of FFF (fused filament fabrication) 3D printers to provide an ideal surface for 3D printing. It replaces the need for blue masking tape and/or polyimide films such as Kapton. Composed of high quality, heat-resistant raw materials, BuildTak provides a stable build platform for 3D printed objects to adhere to while allowing for a clean, easy removal of completed builds.
When installing the BuildTak sheet
Expose a small amount (one or two inches) of adhesive on the back side of the BuiildTak by peeling back the plastic film and position the BuildTak on the bed plate. Slowly remove the plastic film to expose more adhesive while using a rolling pin to flatten the BuildTak into place. The goal is to eliminate any possibility of air bubbles under the BuildTak sheet.
Notes on printing with BuildTak sheet
We have found the prints can stick very very tightly if you press the first layer too much against the BuildTak. Make sure you offset the print head a little farther up for the first layer.
Additional instruction can be found here: [BuildTak website]
and here: [BuildTak instructions .pdf]

