Difference between revisions of "Viki installation"
From re:3D
| Line 1: | Line 1: | ||
==Viki Case== | ==Viki Case== | ||
[[File:Viki_holder.jpg|400px|right]] | [[File:Viki_holder.jpg|400px|right]] | ||
| − | + | ||
| − | Download the printed Viki Holder here: [[File:Viki_holder3_rotated.stl]] | + | |
| + | [https://sketchfab.com/models/52953fee13ac4e9292c63c8bb65dfa3c Download our Viki Holder model here to print it yourself] | ||
| + | |||
| + | <!---Download the printed Viki Holder here: [[File:Viki_holder3_rotated.stl]]---> | ||
...and use our PDF instruction manual: | ...and use our PDF instruction manual: | ||
Revision as of 15:01, 17 November 2015
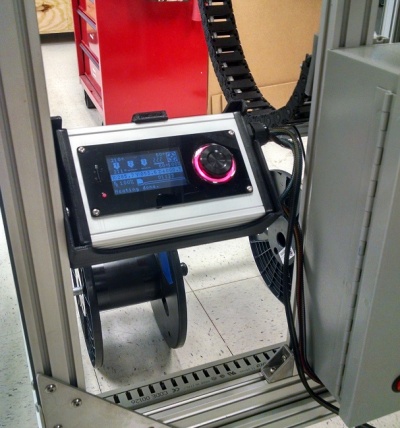
Viki Case
Download our Viki Holder model here to print it yourself
...and use our PDF instruction manual:
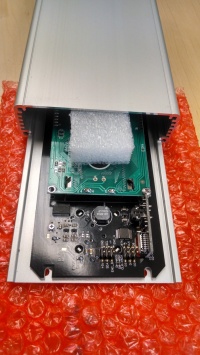
Replacing the Viki LCD display board
- Remove the four screws securing the aluminum LCD enclosure end plate with the cable grommet.
- Slide out the enclosure plate with the Viki attached.
- Note orientation and location of two wire bundles.
- Unplug cables from old unit and plug into new one
- Remove M3 screws fixing the old Viki to the cover plate
- Replace old Viki with new one
- Reassemble and test unit
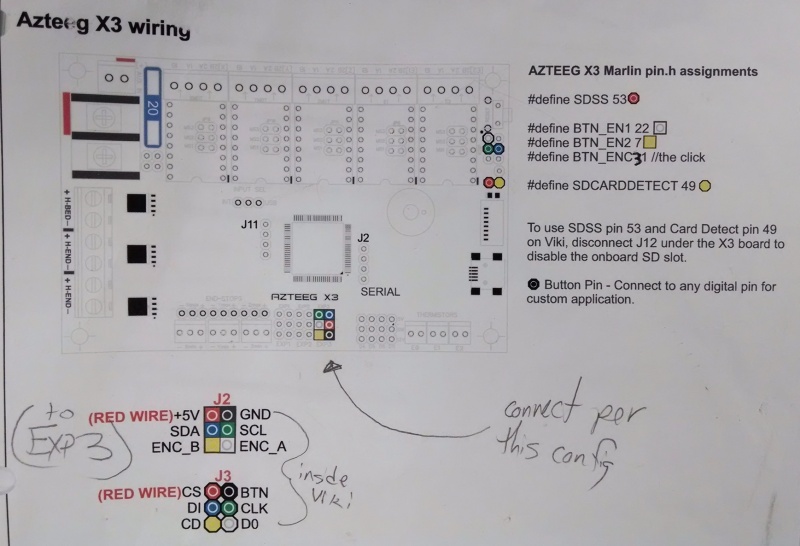
re:3D wiring for Azteegs 1.0 through 2.0


