Difference between revisions of "Fully Assembled Gigabot"
From re:3D
| Line 24: | Line 24: | ||
#Check bed level | #Check bed level | ||
##Manually move the print head front to back and right to left over the bed | ##Manually move the print head front to back and right to left over the bed | ||
| + | |||
| + | ===Load filament=== | ||
| + | #Place roll on spool holder | ||
| + | #Filament loaded in extruder | ||
===Installing software and start printing=== | ===Installing software and start printing=== | ||
#[[Installing and using software with Gigabot]] | #[[Installing and using software with Gigabot]] | ||
| − | |||
#[[First Print]] | #[[First Print]] | ||
Revision as of 18:43, 19 March 2016
Contents
Gigabot Quick Start Guide
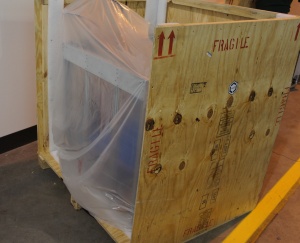
Receiving and uncrating
- Check the exterior of the crate for any visible damage
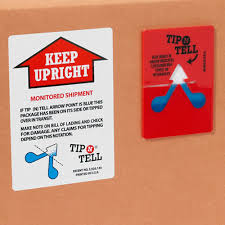
- Inspect the Tip-n-Tell indicators on two sides of the crate
- Inspect Shockwatch indicator on the outside of the crate
Open crate and remove Gigabot
- Remove bed locks and zip ties.
Check bed height and bed level
- Plug in power
- Turn on Gigabot
- Home Z and check bed height
- Very important. The first layer of your print is the foundation of your object. The hot end tip should be about 0.005" above the bed
- Check bed level
- Manually move the print head front to back and right to left over the bed
Load filament
- Place roll on spool holder
- Filament loaded in extruder


